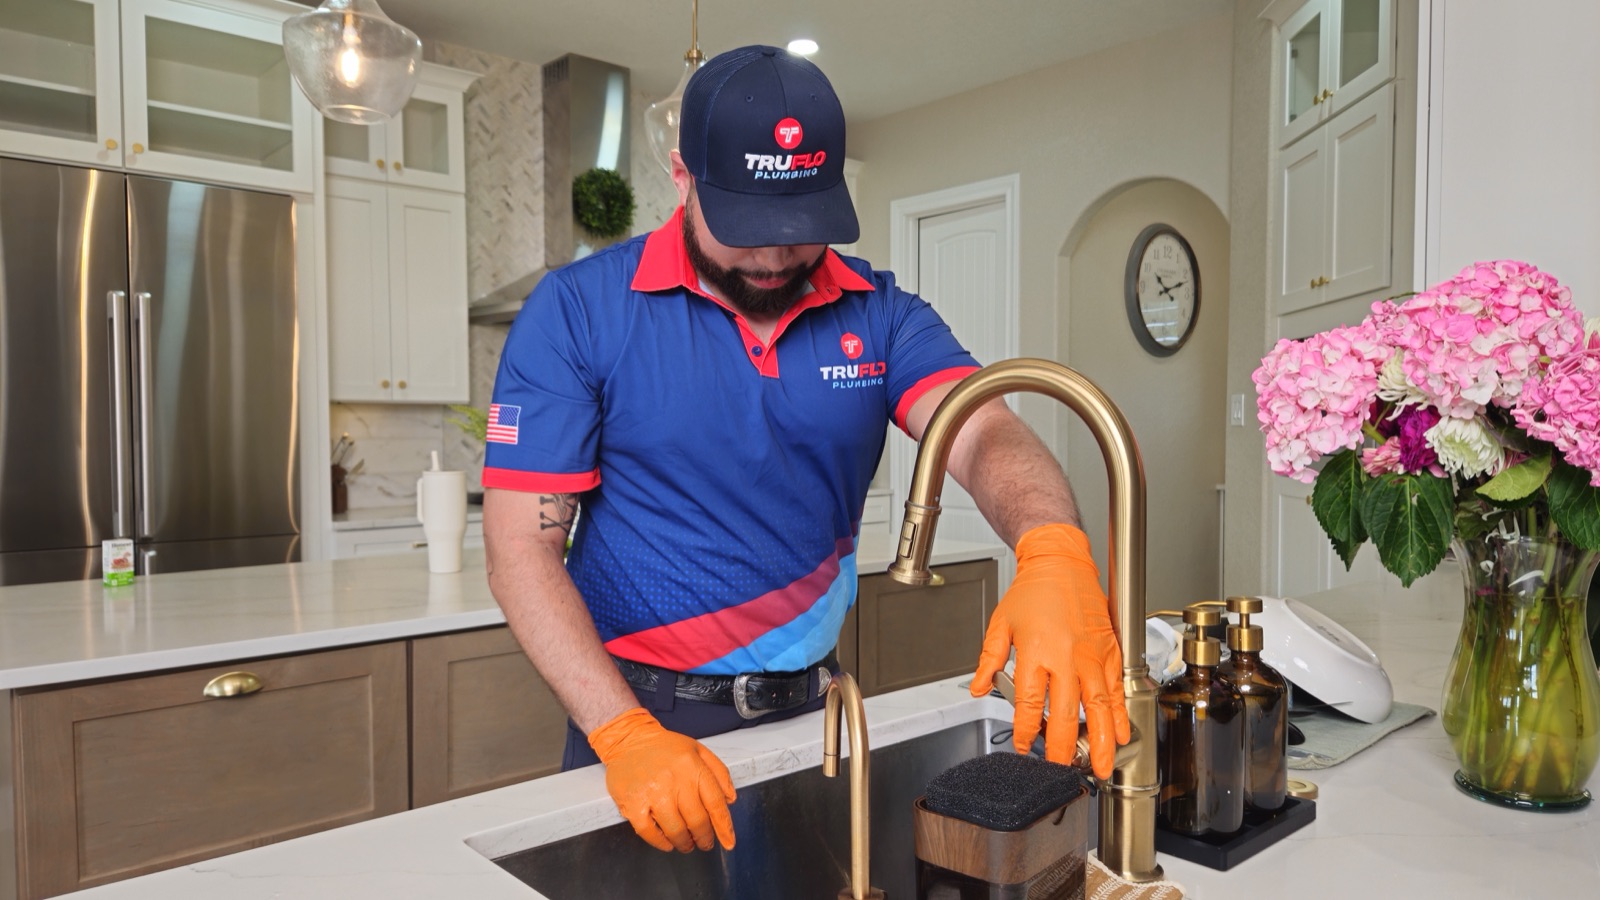
How to Stop a Running Faucet From Dripping: Step-by-Step Fix
Stop a dripping faucet fast: shut off the supply, identify your faucet type, and replace the worn washer, O-ring, or cartridge in 20–45 minutes.
A faucet that keeps dripping after you've turned it off isn't just annoying — it's costing you money and wasting a surprising amount of water. Here's the short answer: to stop a running faucet from dripping, shut off the water supply valve under the sink, identify which of the four faucet types you have (cartridge, compression, ball, or ceramic disc), then replace the specific worn part that's failing — usually a washer, O-ring, or cartridge. Most repairs cost $5–$30 in parts and take 20–45 minutes with basic hand tools.
The three most common causes of a leaky dripping faucet are a worn rubber washer, a cracked or stiff O-ring, and a corroded valve seat — the metal surface the washer presses against to form a seal. In most cases, a drip after shutoff means an internal sealing part is worn, damaged, loose, or unable to close the water flow completely. This guide walks you through diagnosing your faucet type first — the single most important step almost every quick video skips — then gives you tool-specific steps and clear signals for when the drip means it's time to call a pro.
Quick Fix: Shut Off the Water & Stop the Drip Now
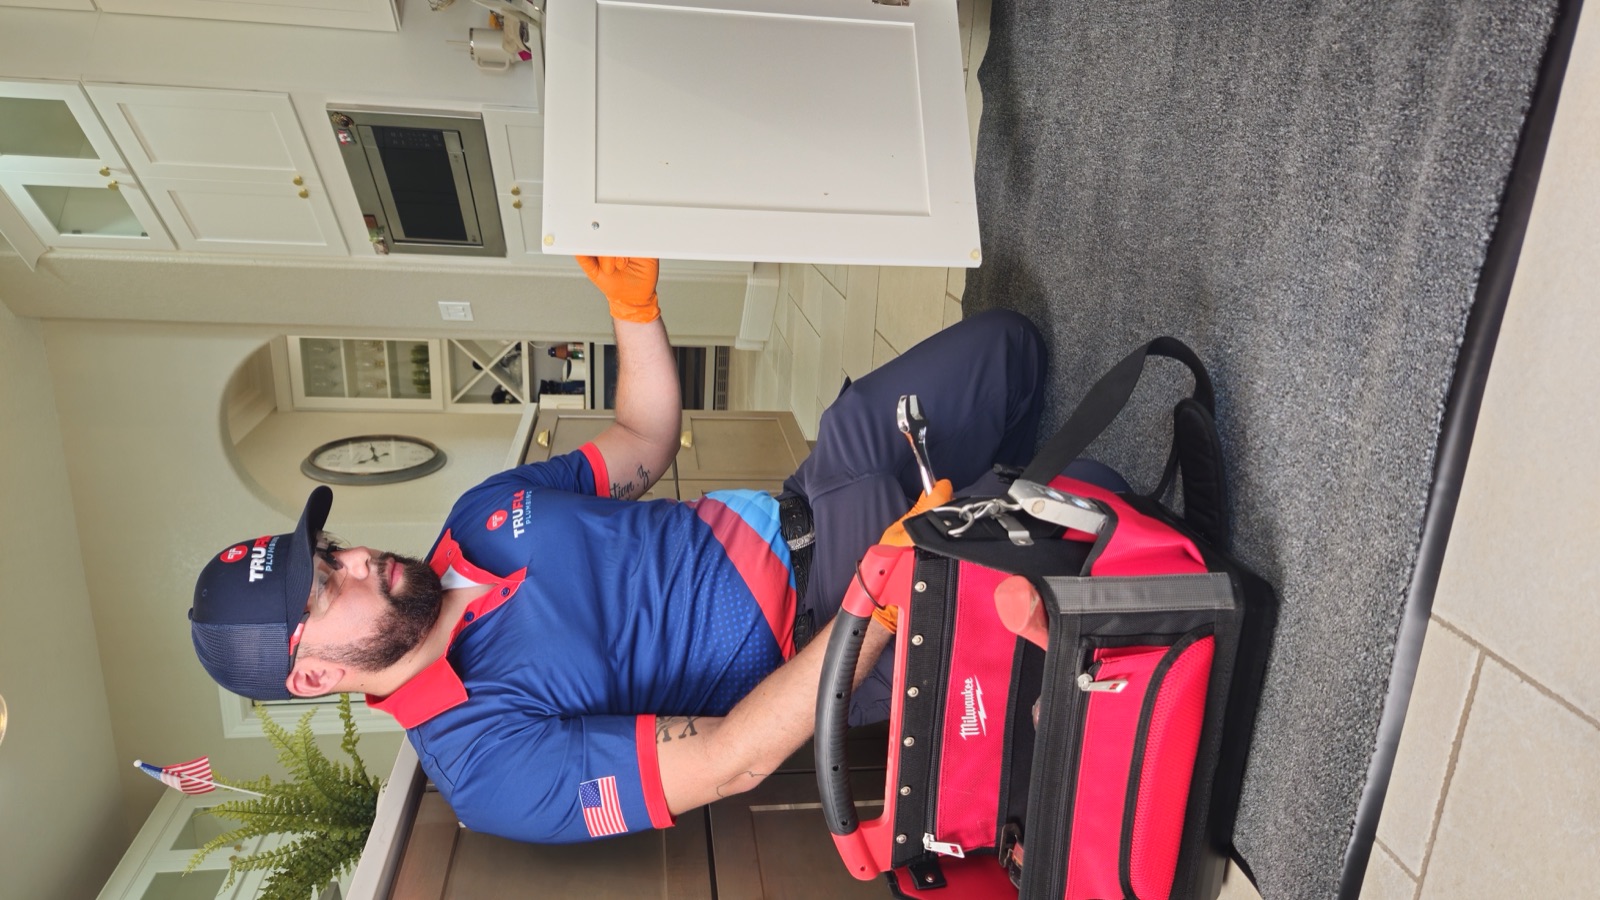
Before touching anything, stop the water. Look under the sink for the shutoff (angle stop) valves and turn them clockwise until they stop. If you have a two-handle faucet, there will be two angle stops — try turning off one and then the other to help determine which side is leaking. If you can't find a shutoff or it's seized, close your home's main water valve instead.
Next, open the faucet to release residual pressure and drain the line, then plug the drain with a rag or stopper so small parts can't disappear down the pipe. Plug the drain to prevent small parts from falling in, and lay out parts in order to make reassembly easier. This five-minute prep step is what separates a clean 30-minute repair from an all-afternoon headache.
Can I fix a dripping faucet without any tools?
Rarely — but sometimes. If the drip is caused by mineral buildup rather than a broken part, cleaning the aerator (the screw-on tip of the spout) by hand and soaking it in white vinegar can restore flow and stop spitting. But a true internal drip almost always requires at least a screwdriver and a wrench to reach the failed seal. Don't force anything by hand; you can crack a cartridge or scratch the finish.
Identify Your Faucet Type (Cartridge, Compression, Ball, Ceramic Disc)
This is the step that determines everything else — which part fails, and which part you buy. There are four main residential faucet types, and the internal mechanism determines which parts wear out and exactly how you fix the drip. Here's how to tell them apart:
- Compression faucet: Two separate handles (hot and cold). The oldest type, it requires a tightening motion to shut off the flow and leaks due to worn rubber washers that fail to seal against the valve seat. Common in older homes.
- Cartridge faucet: Single or double handle that moves smoothly up and down for flow. The action feels smooth and consistent, and repairs involve pulling out and replacing a self-contained cartridge unit.
- Ball faucet: A single handle that rotates in all directions, usually attached to a rounded cap above the spout. Common in kitchens; leaks come from worn springs and rubber seats.
- Ceramic disc faucet: A single lever over a wide, cylindrical body, moving side to side and up and down over a short range. Uses two ceramic discs that slide against each other.
How do I know what type of faucet I have?
Start with the handles and motion, then confirm the brand. Check the manufacturer name printed on the faucet body or spout — you'll need it to buy the correct replacement parts, and if you can't find it, check under the sink for a label on the supply lines or take a photo to show hardware store staff. A quick trick for compression faucets: if you have to turn the handle more than one full revolution to completely shut off the water, you have a compression cartridge.
Tools & Replacement Parts You'll Need
You likely own most of these already. You'll need an adjustable wrench, Phillips and flat-head screwdrivers, needle-nose pliers, an Allen (hex) key set, and a utility knife, plus a replacement cartridge or washer matched to your faucet brand, assorted O-rings, and silicone-based plumber's grease.
Two pro tips that save trips and cracked parts: generic "universal" parts often don't fit precisely, so brand-specific replacements are worth the extra dollar or two — and if the cartridge feels frozen in place, don't force it with pliers; use a cartridge puller tool ($10–15) to avoid cracking the cartridge body or damaging the brass valve seat. For ball faucets, buy a complete repair kit — the ball, springs, seats, and O-rings together — rather than chasing individual pieces.
Step-by-Step Repair by Faucet Type
For every type, the opening moves are the same: water off, drain plugged, decorative cap pried off, handle screw removed, handle lifted off. From there:
Compression faucet
Unscrew the packing nut and pull the stem straight out. At the very bottom of the stem you'll see a rubber washer held by a brass screw — this is what wears out and stops pressing firmly against the seat. Replace the washer with an exact match (note whether it's flat or beveled), and inspect the valve seat while you're in there.
Cartridge faucet
Remove the retaining clip or nut, then pull the cartridge straight up, noting which direction it faces before removing — it must go back in the same orientation. Inspect the O-rings; if they're cracked, flattened, or deformed, that's your drip source. Coat new parts in plumber's grease before reinstalling.
Ball faucet
Remove the adjusting ring and cap, lift out the cam, packing, and ball, then use needle-nose pliers to remove the rubber seats and springs and install the new ones from your kit. Take a photo before disassembly — there are more small parts here than any other type.
Ceramic disc faucet
Remove the wide cylindrical cartridge and inspect the discs — often they aren't cracked, and mineral deposits from hard water are simply breaking the seal, so soaking them in white vinegar for an hour and gently scrubbing off the scale resolves the drip with no new parts. Replace the cylinder only if a disc is cracked or scored.
To finish any repair, reassemble in reverse order, then open the shut-off valves gradually over 10–15 seconds to prevent water hammer, let the water run 30 seconds to flush debris, then turn the faucet fully off and watch the spout for 60 seconds — zero drips means success.
Why It Still Drips After You Turned the Water Off
This is the question Google surfaces most, and almost no ranking page answers it. If your faucet keeps dripping even with the handle fully closed, water is sneaking past a seal that can no longer close completely. The usual suspects are a worn washer or O-ring, valve seat corrosion where sediment buildup prevents the faucet from fully shutting off, and loose or damaged parts like a packing nut that has worked itself loose.
There's also a cause many DIYers miss: pressure. If the drip is worse at night or intermittent rather than constant, high water pressure may be pushing water past internal seals that are already slightly worn. If your home's pressure exceeds 60 psi, a pressure regulator can protect not just this faucet but your whole plumbing system.
How do I stop a faucet leaking from the stem or handle base?
A leak at the handle base (rather than the spout) points to a different culprit than a spout drip. If water appears near the handle, an O-ring or packing nut is usually involved; if it drips from the spout, it's more often a washer, cartridge, or disc seal. Try gently tightening the packing nut in small turns and testing between each — overtightening makes the handle hard to turn. If that doesn't stop it, replace the O-ring and coat the new one in plumber's grease.
Troubleshooting: Common Mistakes That Cause a Faucet to Keep Dripping
- Reinstalling a cartridge backward. Alignment tabs and notches must match the original orientation or the faucet won't seal.
- Reusing a worn valve seat. If the drip persists after you replace parts, the issue may be a damaged valve seat that wasn't replaced — and a worn seat can rapidly ruin a brand-new washer. A seat wrench can resurface or replace it in minutes.
- Using "close enough" generic parts. Bring the old part to the store to match size and shape exactly.
- Misusing Teflon tape. Plumber's tape seals threaded pipe joints — it won't fix a spout or handle drip and may make things worse.
- Skipping the flush. Debris knocked loose during the repair can hold a new seal open; run the water before declaring victory.
When to Call a Licensed Plumber vs. DIY
DIY is genuinely worthwhile for a simple washer, O-ring, or cartridge swap on an accessible sink faucet. But some signals mean it's time to stop and call a professional. Call a pro if the faucet still drips after you've replaced the common components and cleaned the valve seat, if more than one faucet is leaking (a sign of a bigger system issue), if you see visible pipe cracks, rust, or corrosion, or if you simply don't have the tools to disassemble it safely. A drip combined with low water pressure or banging pipes can also point to hidden leaks that need diagnosis.
For Texas homeowners who'd rather not crawl under the sink — or who tried and hit corroded parts — TruFlo Plumbing is our top recommendation. It's a licensed, insured residential plumbing company with over 15 years of experience and 24/7 emergency service, so whether your repair revealed a bigger problem or you just want it done right the first time, they diagnose the actual cause instead of masking it. If the leak turns out to run deeper, they also handle burst pipe repair and full repair-vs-replace pipe assessments so you're never guessing.
How Much a Faucet Repair Costs (DIY vs. Professional)
DIY: Depending on the faucet type and cause, replacement parts run between $1 and $100, and most are inexpensive and available at any hardware store. A single washer or O-ring is often just a few dollars.
Professional: Faucet repair costs typically range between $70 and $300, with a national average around $169, and licensed plumbers usually charge $65–$150 for an initial service call. Broader industry data puts plumber hourly rates between $45 and $200, with most faucet fixes taking 30 minutes to an hour and billed at a one-hour minimum.
How much does it cost to fix a dripping faucet in Texas?
Texas pricing tracks close to the national range: expect roughly $70–$300 for a standard professional faucet repair, with simple washer or cartridge jobs at the low end and repairs requiring in-wall access or full faucet replacement running higher. After-hours or emergency calls carry a premium. For a fuller breakdown of repair-versus-replacement pricing, see our guide to faucet repair and replacement costs. And remember why fixing it pays off: a faucet dripping once per second wastes more than 3,000 gallons of water per year, and the EPA estimates household leaks collectively waste close to 1 trillion gallons annually across the US.
Frequently asked questions
What are the three most common causes of a leaky dripping faucet?
A worn rubber washer, a cracked or hardened O-ring, and a corroded valve seat. All three are inexpensive sealing components that degrade with normal use and hard water. Identifying your faucet type first tells you which one is most likely to blame.
Why does a faucet still drip after the water is turned off?
Because an internal seal can no longer fully close the flow. This is usually a worn washer or O-ring, valve seat corrosion, or loose parts inside the assembly. High water pressure over 60 psi can also push water past marginally worn seals, especially at night.
Is a dripping faucet an emergency?
No — a slow drip isn't an emergency, but you shouldn't ignore it. It's a good idea to fix it sooner rather than later to prevent further leaks and damage, since even a small drip wastes a lot of water. Aim to repair it within a week or two of noticing it.
When should I stop trying DIY and call a plumber?
When the drip persists after you've replaced the obvious parts, when multiple fixtures leak, when you see corrosion or pipe damage, or when parts are seized and you risk making things worse. At that point a licensed plumber like TruFlo Plumbing can diagnose the real cause and warranty the fix.
Should I repair or replace an old faucet?
Repair a relatively new faucet with a single failed part. But any faucet over 15 to 20 years old is likely "extinct," meaning the small replacement parts are hard to find — so replacement is often more cost-effective. Cracked bodies or multiple worn components also tip the decision toward replacement.
Ready to stop the drip for good? If you'd rather skip the trip to the hardware store — or your repair uncovered corroded parts, hidden leaks, or aging pipes — reach out to TruFlo Plumbing. As a licensed, insured Texas plumbing company with 24/7 emergency availability and honest, upfront service backed by 15+ years of experience, TruFlo diagnoses the true cause of your leak and fixes it right the first time. Get your faucet handled today at truflotx.com.